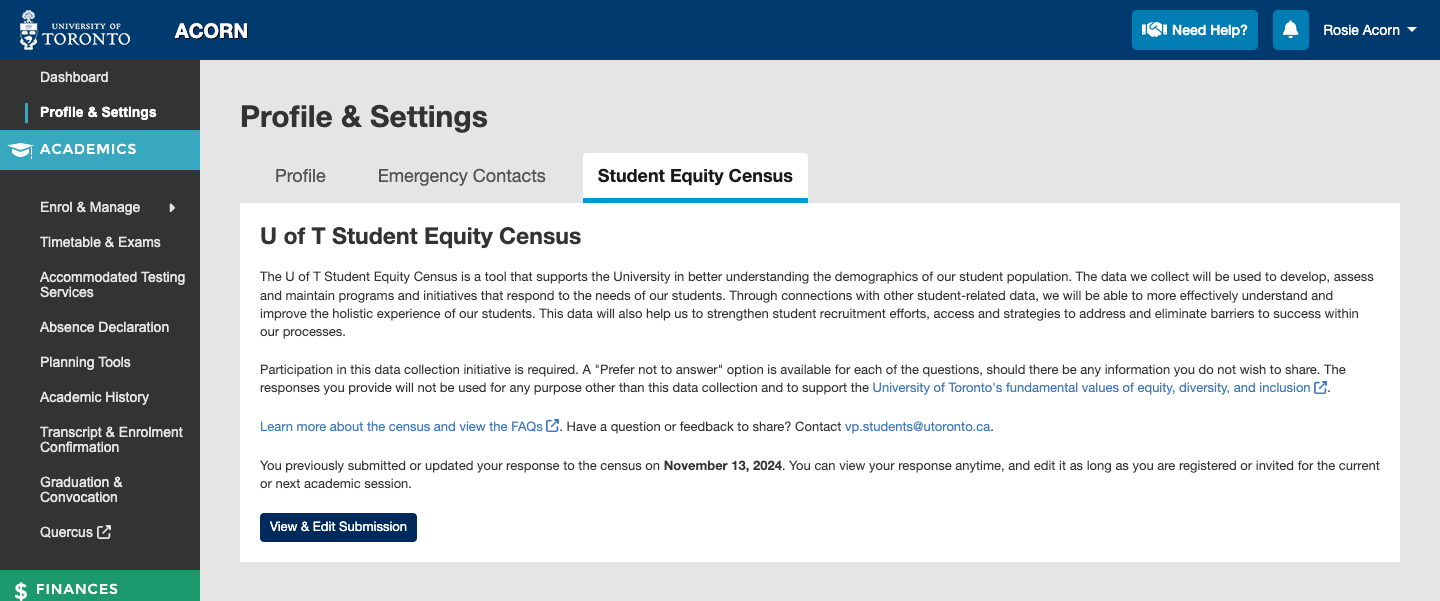
Accommodated Testing Services coordinates on-campus and online assessment accommodations for students with disabilities who are enrolled in courses offered on the St. George Campus. You can learn more about Accommodated Testing Services here.
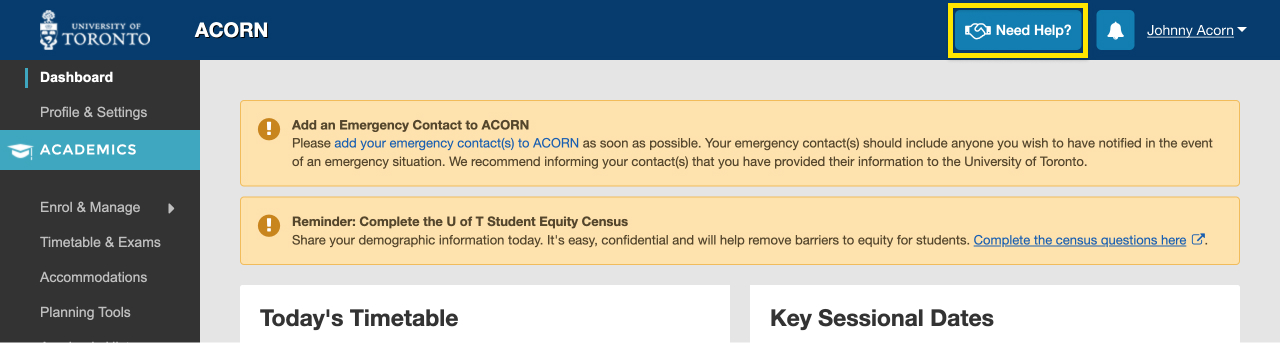
- From the ACORN dashboard, click Accommodated Testing Services under the Academics section of the left-hand navigation menu.
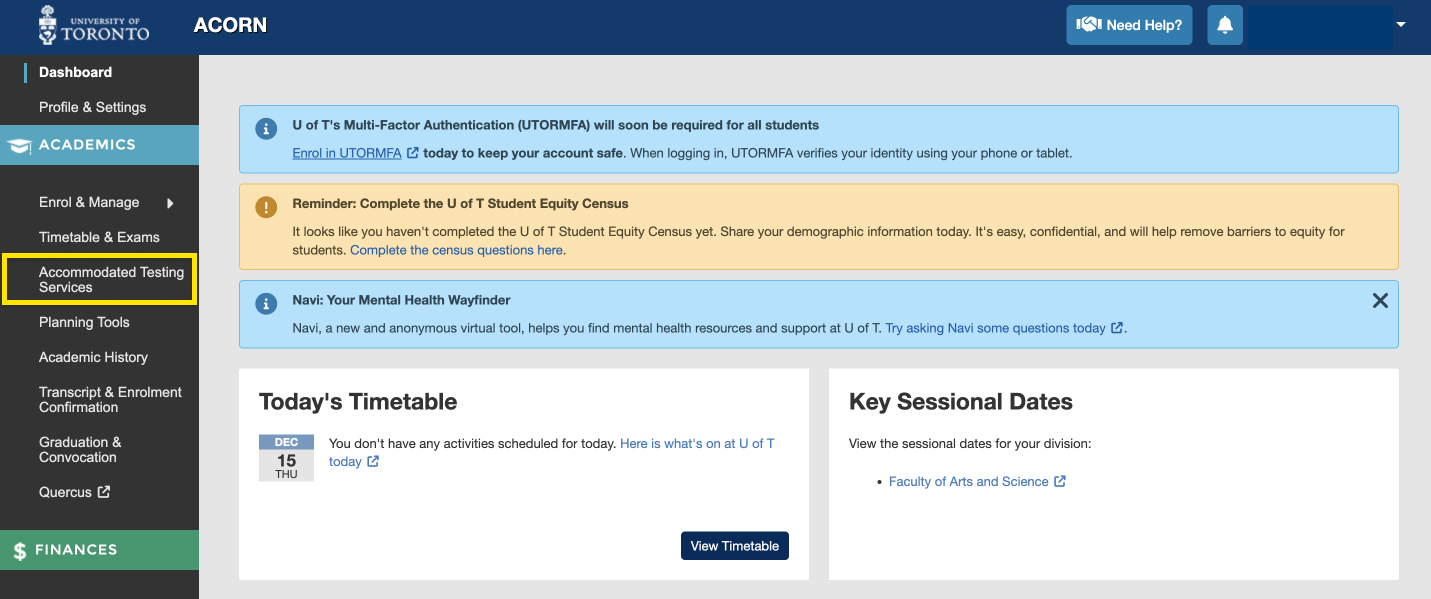
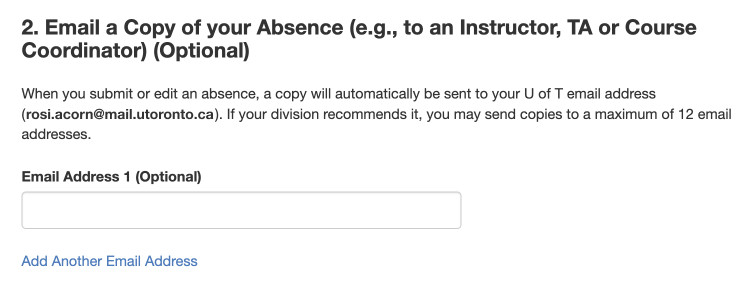
Screenshot of the main navigation menu highlighting the Accommodated Testing Services option on the ACORN Dashboard.
- On the Accommodated Testing Services (ATS) page, you can read an introduction about ATS which includes eligibility requirements. If you would like to make requests for U of T Scarborough or U of T Mississauga, you can click on the links provided which will redirect you to the appropriate pages. If you do meet the eligibility requirements, you can click on the “Continue” button to proceed to the next steps which include requesting an accommodated test and viewing your bookings dashboard.
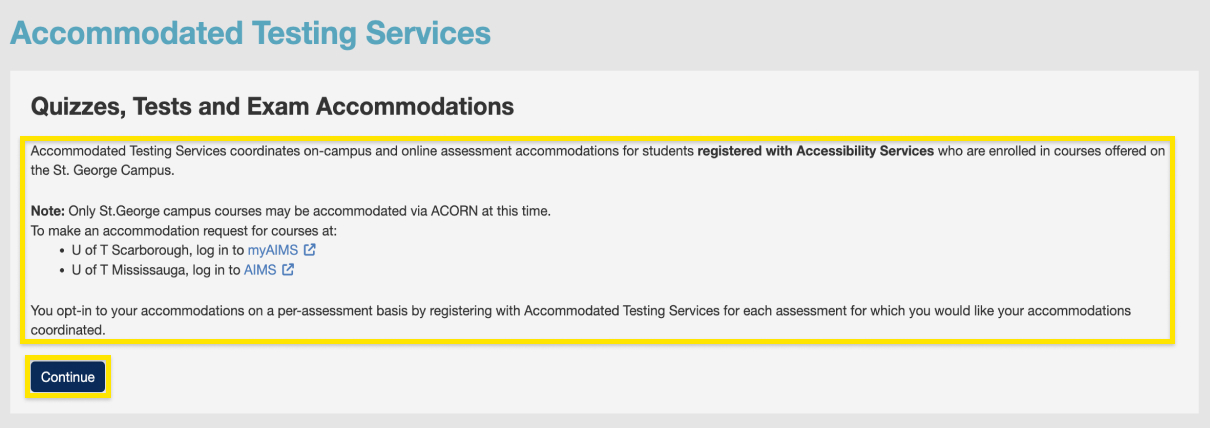
Screenshot highlighting information on the introduction page to ATS
- If you are already registered with Accessibility Services, approved to write quizzes, tests or exams with accommodations and are also registered with Accommodated Testing Services, then you will be able to request to write on-campus or online accommodated tests and quizzes for St. George campus courses by clicking on the “Request Accommodated Testing” button. If you would like to make a request that is late a request, for a deferred assessment, a program qualification, or for a course that you did not enrol in via ACORN, then you will need to submit your request via the Alternate Registration Form.
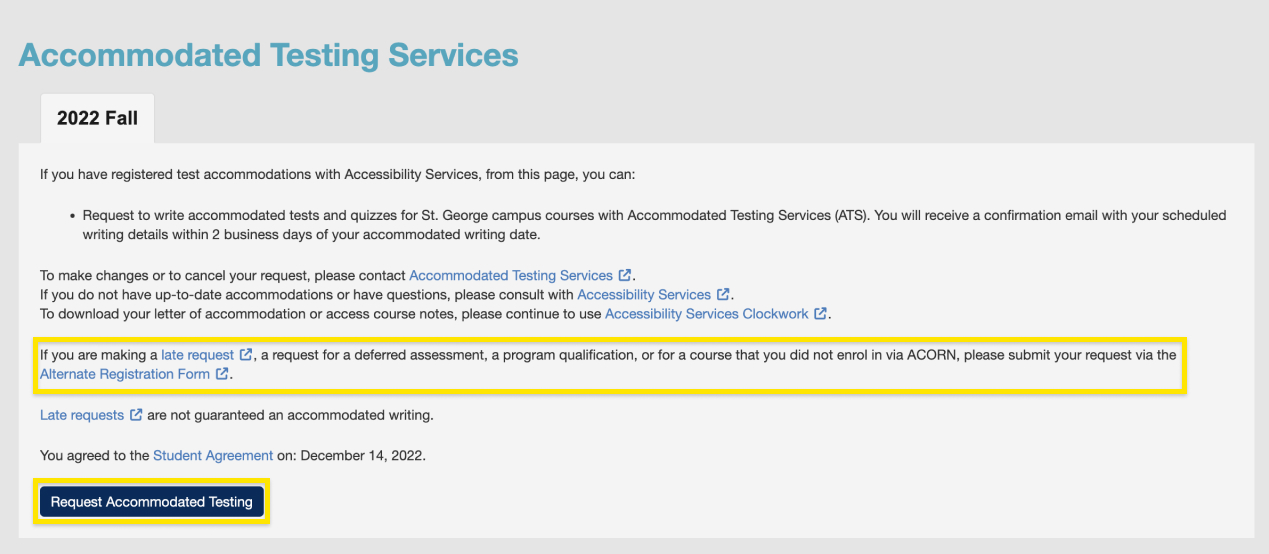
Screenshot highlighting the request accommodated testing button and how to request an accommodated test for different situations.
- If you are not registered with Accessibility Services or do not yet have approved accommodations, then you will not be able to proceed with making a request or view your bookings dashboard.

- If you are already registered with Accessibility Services, approved to write quizzes, tests or exams with accommodations and are also registered with Accommodated Testing Services, then you will be able to request to write on-campus or online accommodated tests and quizzes for St. George campus courses by clicking on the “Request Accommodated Testing” button. If you would like to make a request that is late a request, for a deferred assessment, a program qualification, or for a course that you did not enrol in via ACORN, then you will need to submit your request via the Alternate Registration Form.
- After you click on the “Request Accommodated Testing” button, you will be asked to complete the form. Keep in mind, this form asks for information about the assessment writing details for the class and not for your requested accommodated details. The first part requires you to complete information about the type of request and activity that you are making the request for. This includes selecting the type of request, choosing a course from your list of registered courses for the current session and selecting whether your instructor has indicated that this assessment must be written in person or not.
- Keep in mind the first part of this question is asking where your instructor said you and your class must write this assessment and not where you would like to write it.
If you have selected a standard assessment and your instructor indicated you must complete this assessment ‘in person, on campus’, then you will be required to write this assessment in person with Accommodated Testing Services (ATS). If your instructor did not indicate that this assessment must be written in person, then you can choose whether you would like to write it in person with Accommodated Testing Services (ATS), or at home or elsewhere.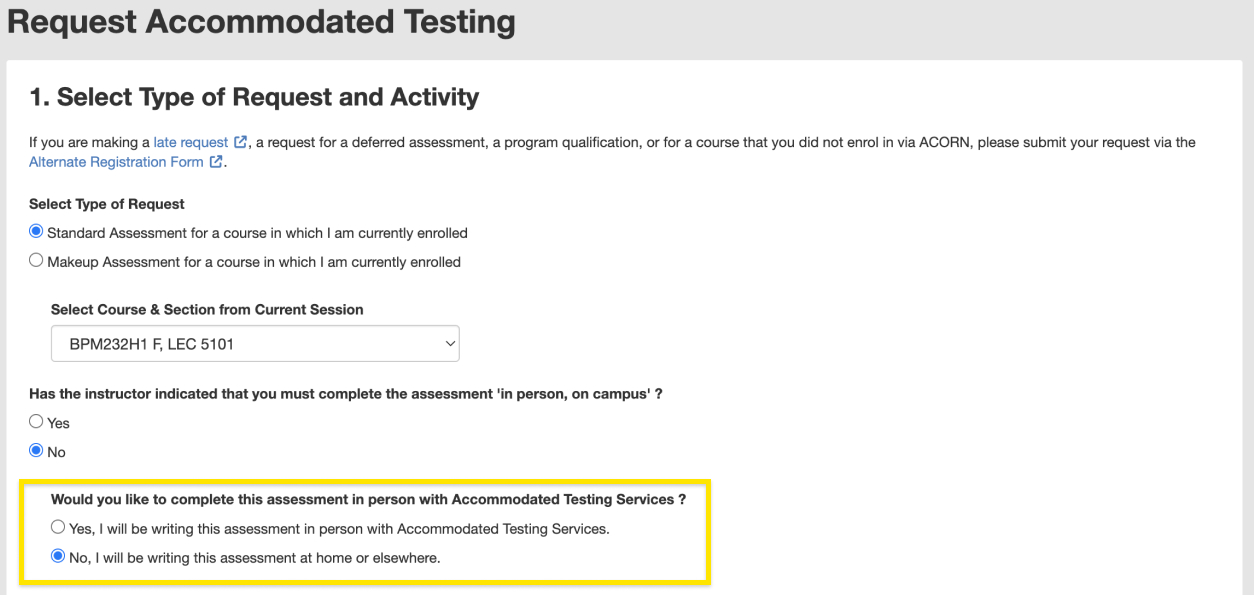
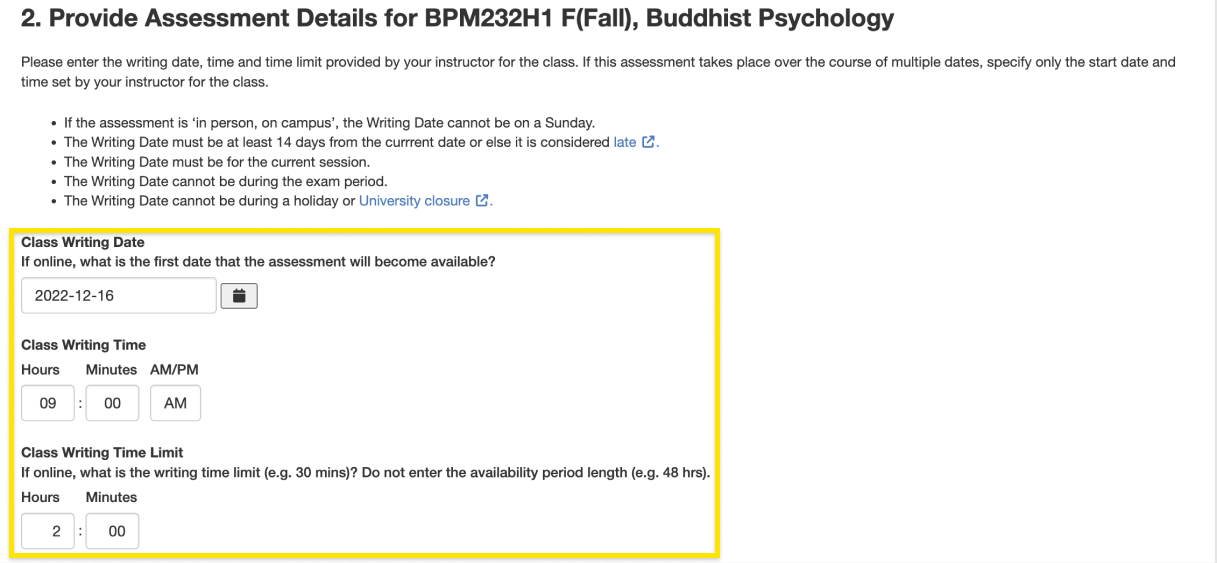
- The next section of the form will ask you to enter the writing details of the assessment including date, time and duration. Please note, if you have selected a Makeup Assessment, then you will be required to enter the date, time and duration the instructor indicated you must write this assessment.
- If you have selected a Standard Assessment then enter the details that the instructor has indicated for you and your class.
Keep in mind these questions are asking you to enter the class writing details for Standard Assessments or details arranged by the instructor for Makeup Assessments and not when you would like to write this assessment.
E.g., My instructor indicated that I have an in-person assessment on September 14th at 2:00pm for a duration of 2 hours. You will enter the following for this scenario:
Class Writing Date: September 7th
Class Writing Time: 2:00pm
Class Writing Time Limit: 2 hours - Also, if your assessment takes place over the course of multiple dates, i.e., has an end date that is different from the start date, then only enter the start date and time for when this assessment will become available.
E.g., My instructor indicated that I have an online assessment that will be available between September 14th at 9:00am to September 16th at 11:59pm. I can write this assessment anytime within that time period but once I start this assessment then I have 3 hours to complete it. You will enter the following for this scenario:
Class Writing Date: September 14th
Class Writing Time: 9:00am
Class Writing Time Limit: 3 hours - Additionally, only enter the duration of the assessment and not the period for when this assessment is available. For example, do not enter 48 hours, in the “Class Writing Time Limit” section for an assessment that has a 2-day availability period.
E.g., My instructor indicated that I have an online assessment that will be available between September 14th from 9:00am to September 16th at 11:59pm . I can choose to complete this assessment any time within that period and there is no time limit. You will enter the following for this scenario:
Class Writing Date: September 14th
Class Writing Time: 9:00am
Class Writing Time Limit: the time you think it will take to complete this assessment (up to 23 hours and 59 mins).
- If you have selected a Standard Assessment then enter the details that the instructor has indicated for you and your class.
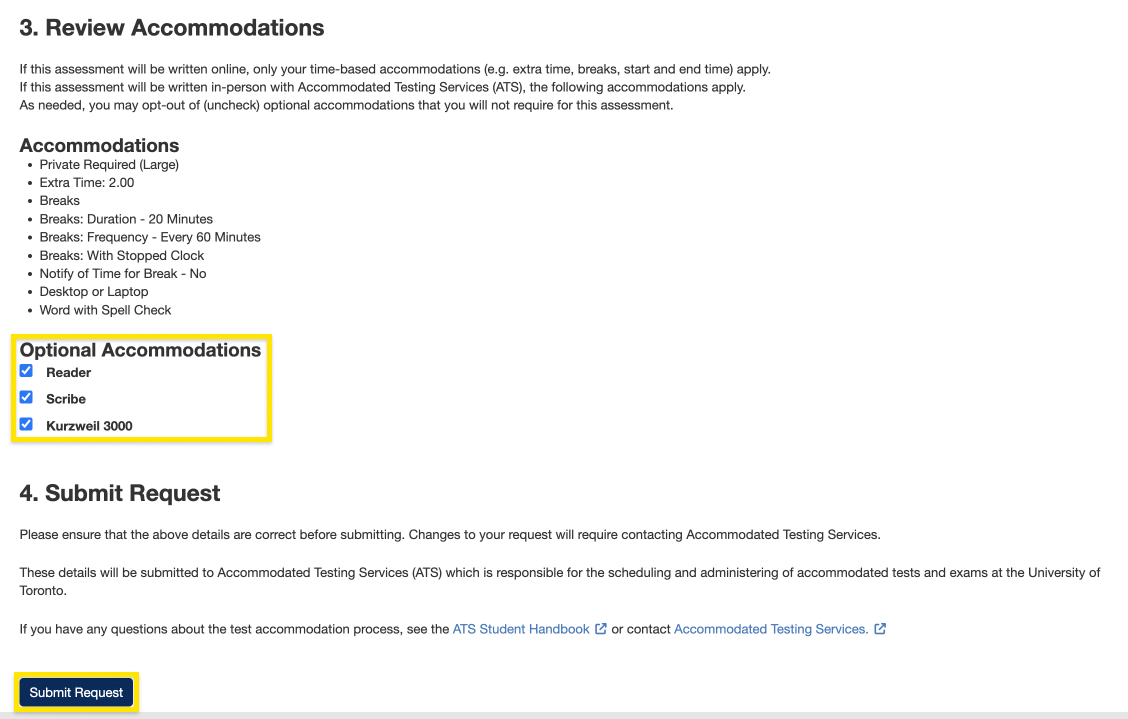
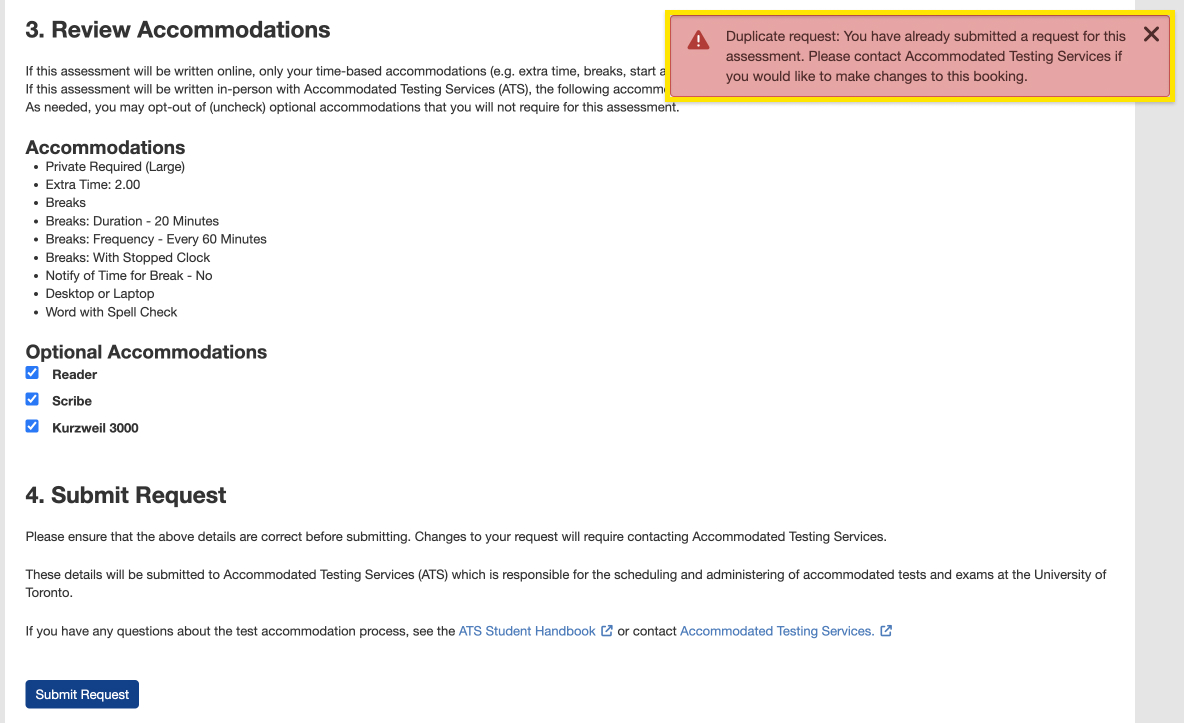
- After completing this information, you can review your accommodations and submit your request by clicking “Submit Request”. If you have any optional accommodations, then you can opt in or out for this request by clicking on the checkbox.
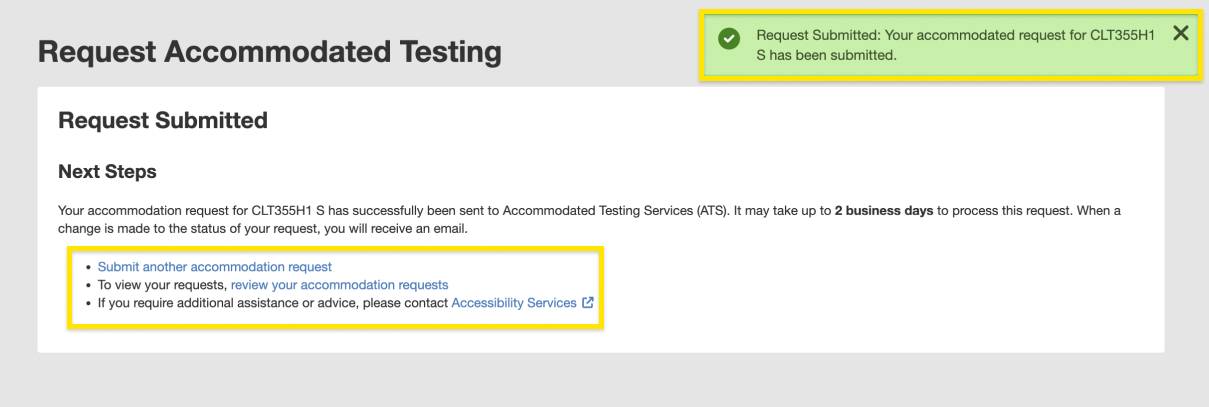
- If your accommodated testing request was created successfully, you will receive a success notice at the top-right corner of your screen. You can now submit another request or navigate to your bookings dashboard.
- If you are making another request for a booking that you have previously made, then you will receive an error message instead. Please follow the instructions in the error message.
- Keep in mind the first part of this question is asking where your instructor said you and your class must write this assessment and not where you would like to write it.
- If your booking is successful and you return to your dashboard, then you can see your upcoming, past or cancelled bookings in the table by clicking through the different tabs. To see more options for your booking you can click on the settings icon.
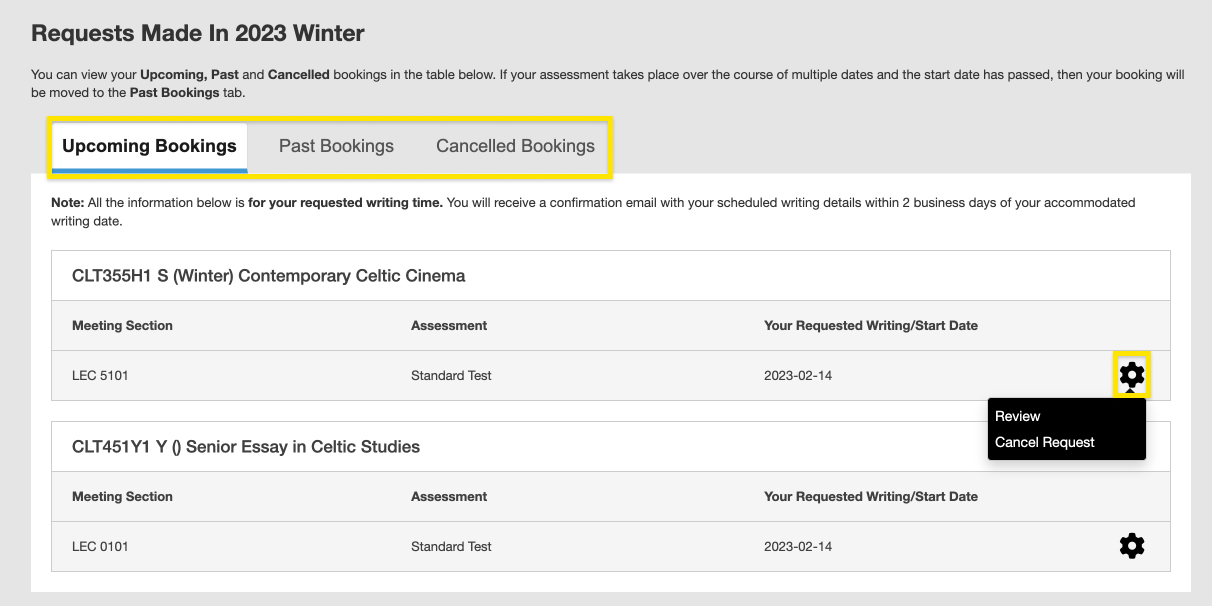
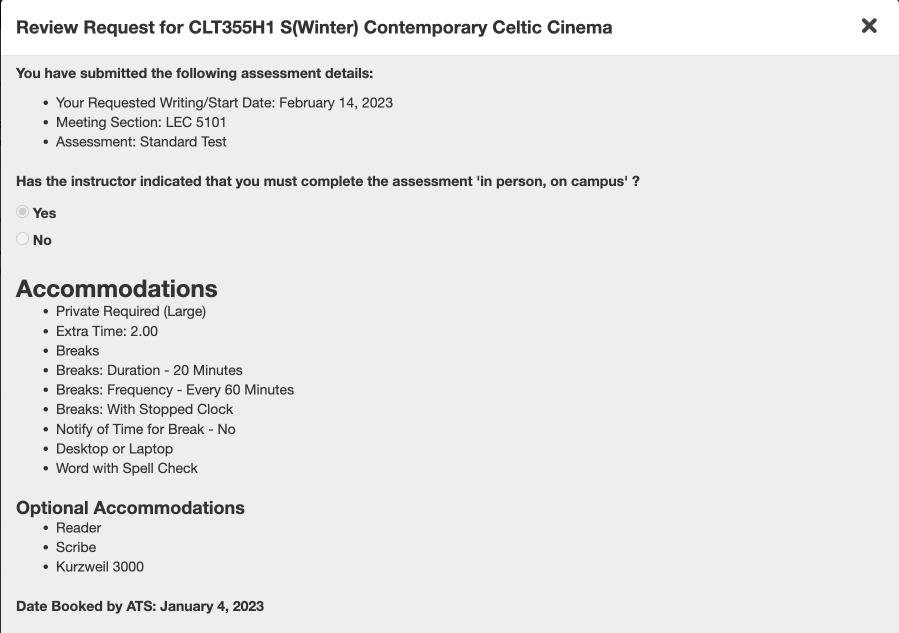
- You can review the details of your booking request by clicking “Review”.
- If you would like details on how to cancel your booking request, then click “Cancel” and follow the instructions.

- You can review the details of your booking request by clicking “Review”.