The Profile Checklist is a list of to-do items on your ACORN Dashboard that tracks the status of personal information that U of T has on file for you. Keeping your profile up to date ensures that U of T can contact you with important information and reach you in an emergency. There are critical items that you must complete and important items that are optional, such as adding direct deposit info so that you get refunds on time.

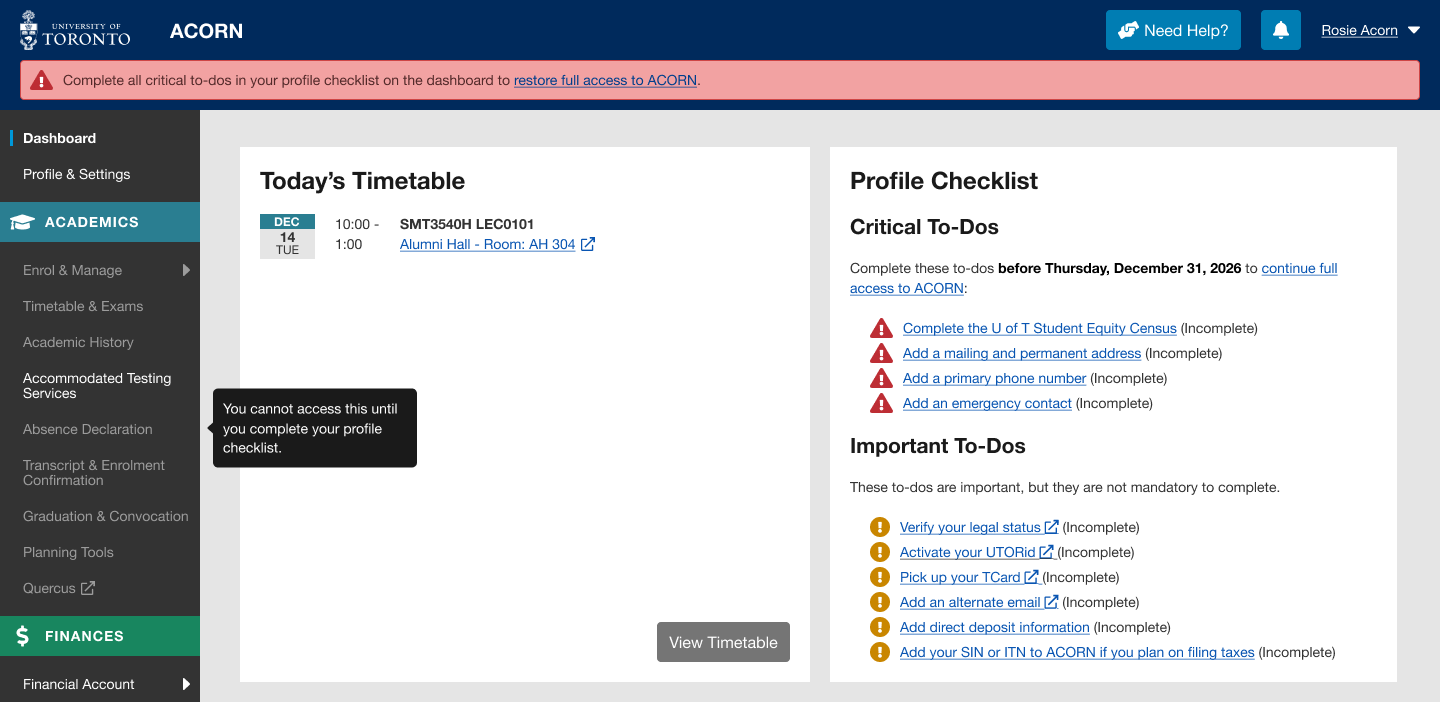
An example of a profile checklist with most items incomplete

Once you fully complete your checklist, the items will go away. If you move or your personal information changes, please update it in ACORN so that the university can reach you.
Your Critical To-dos
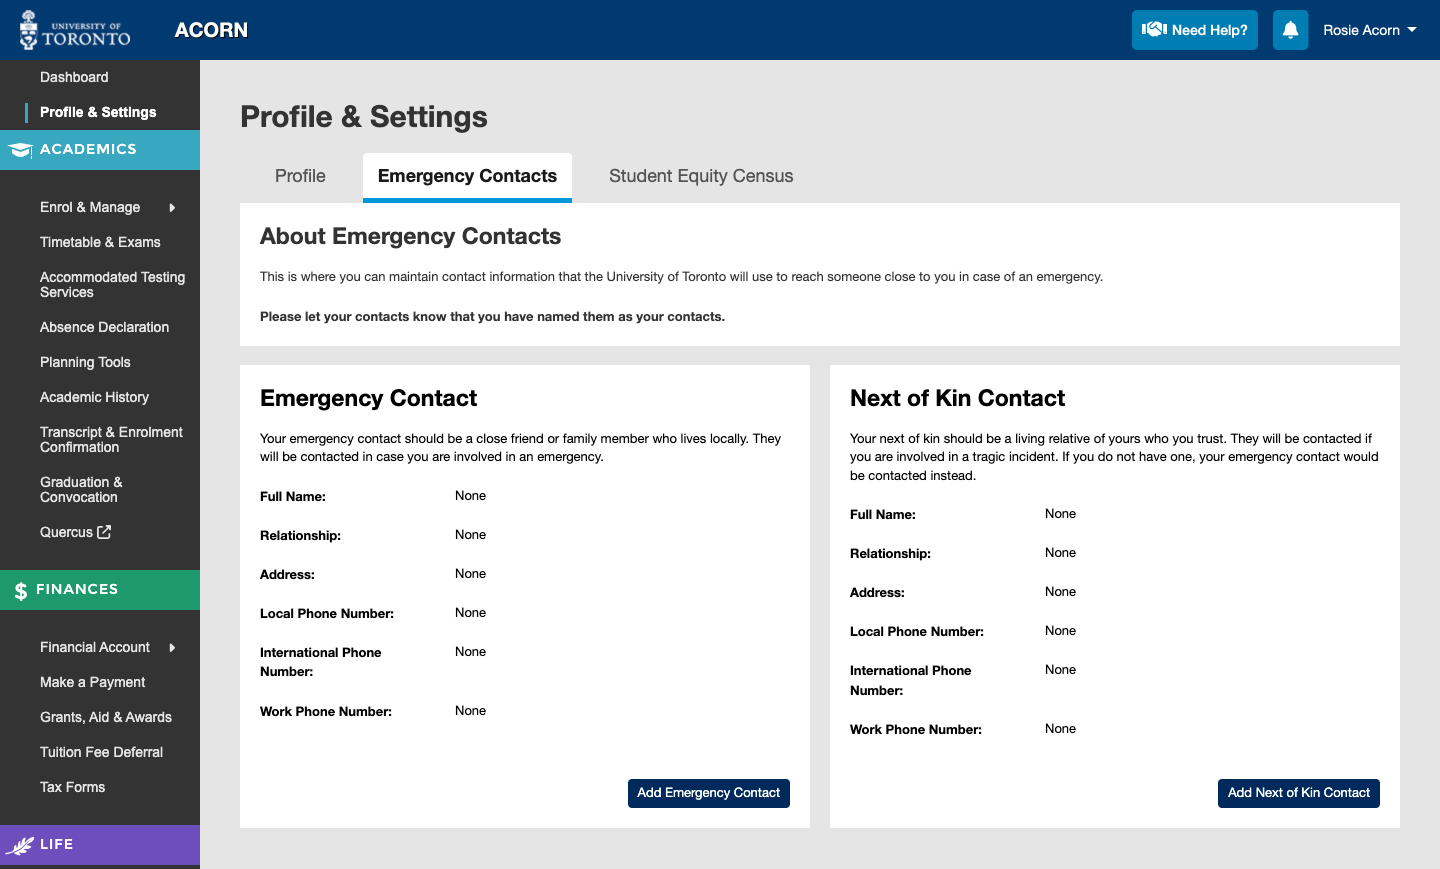
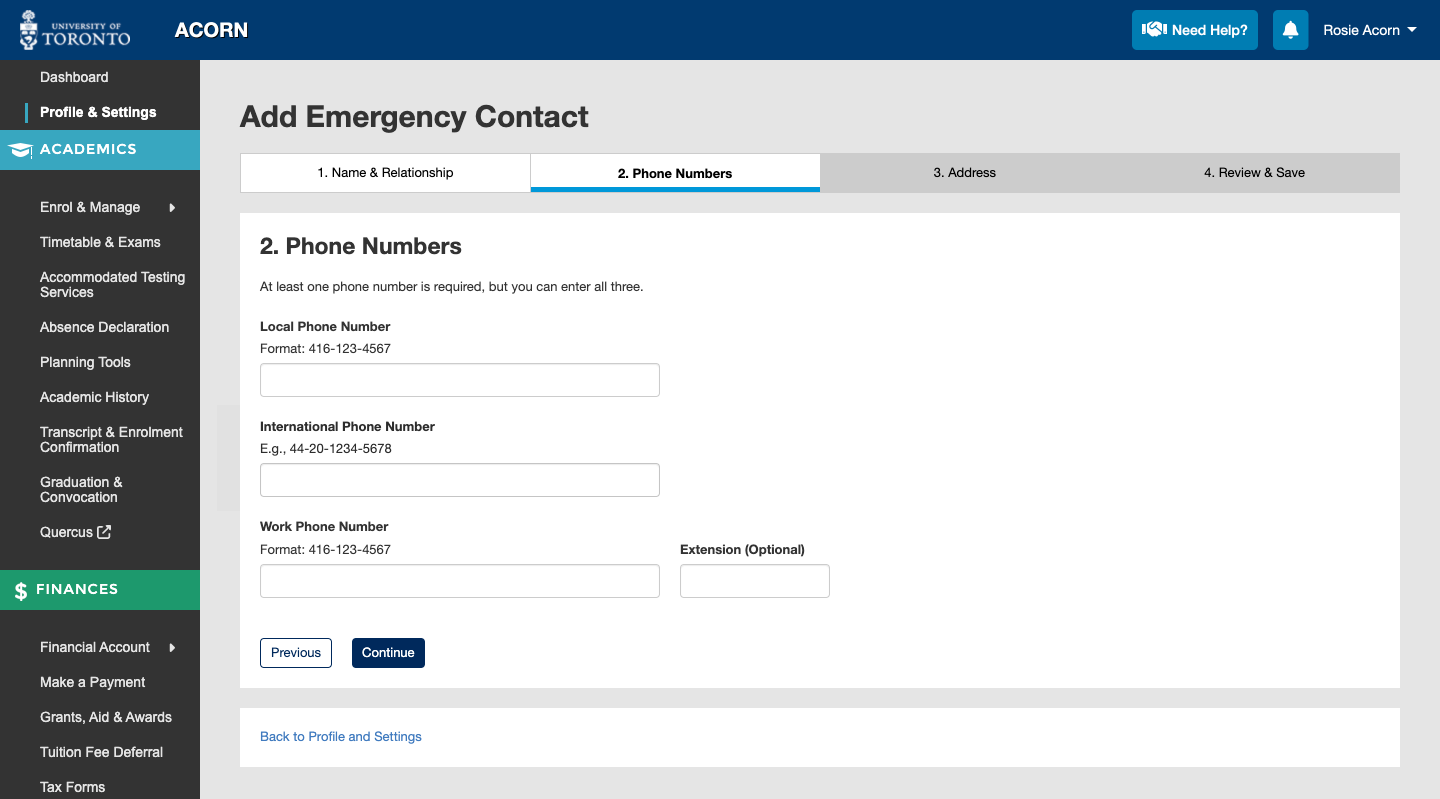
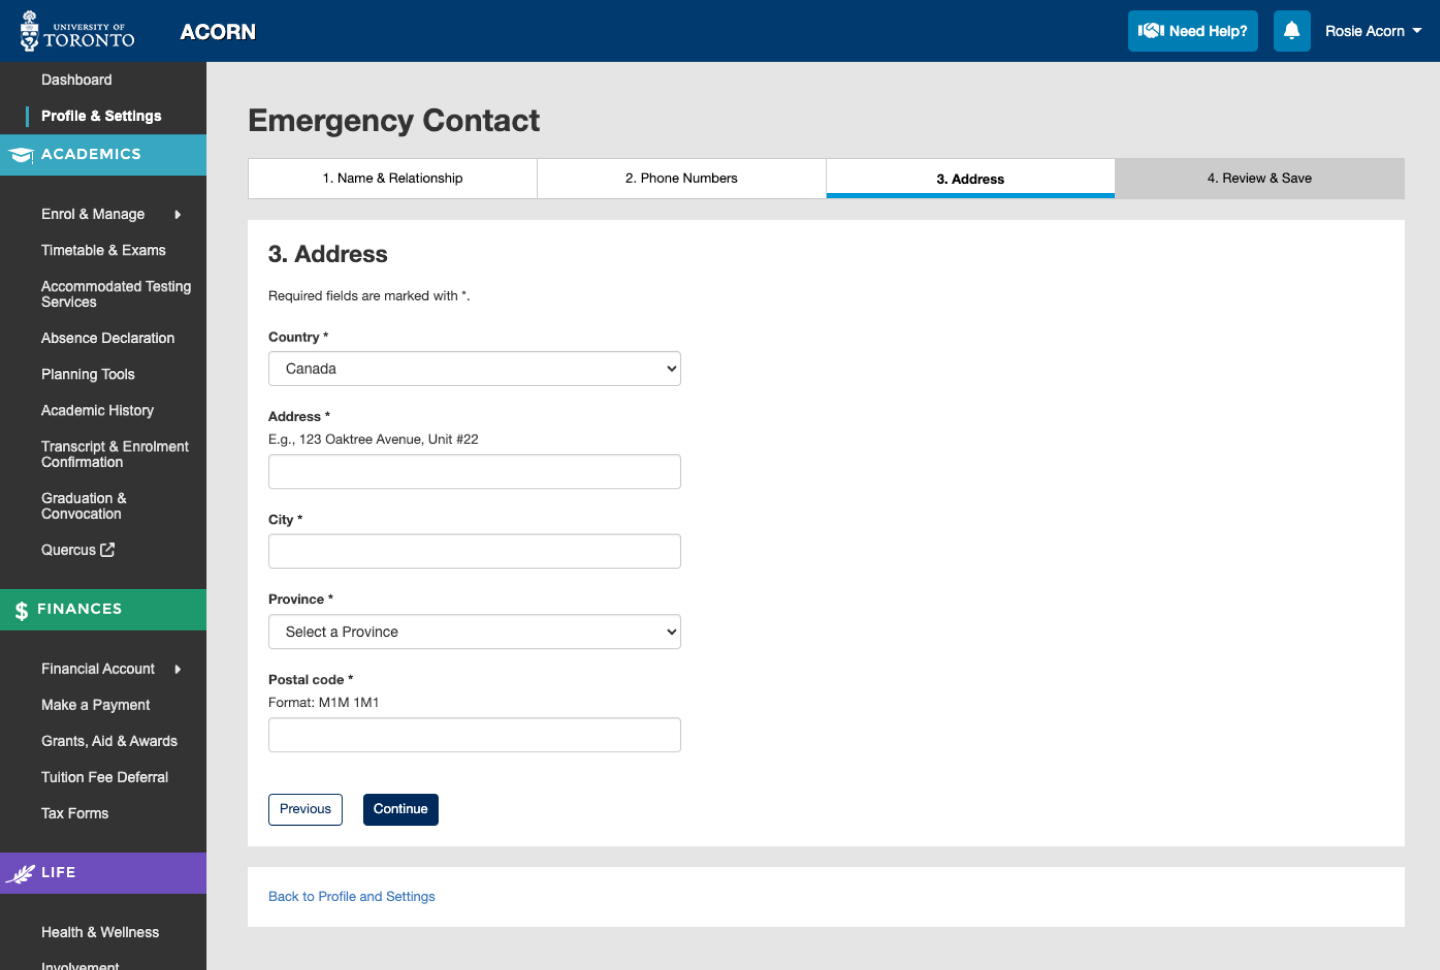
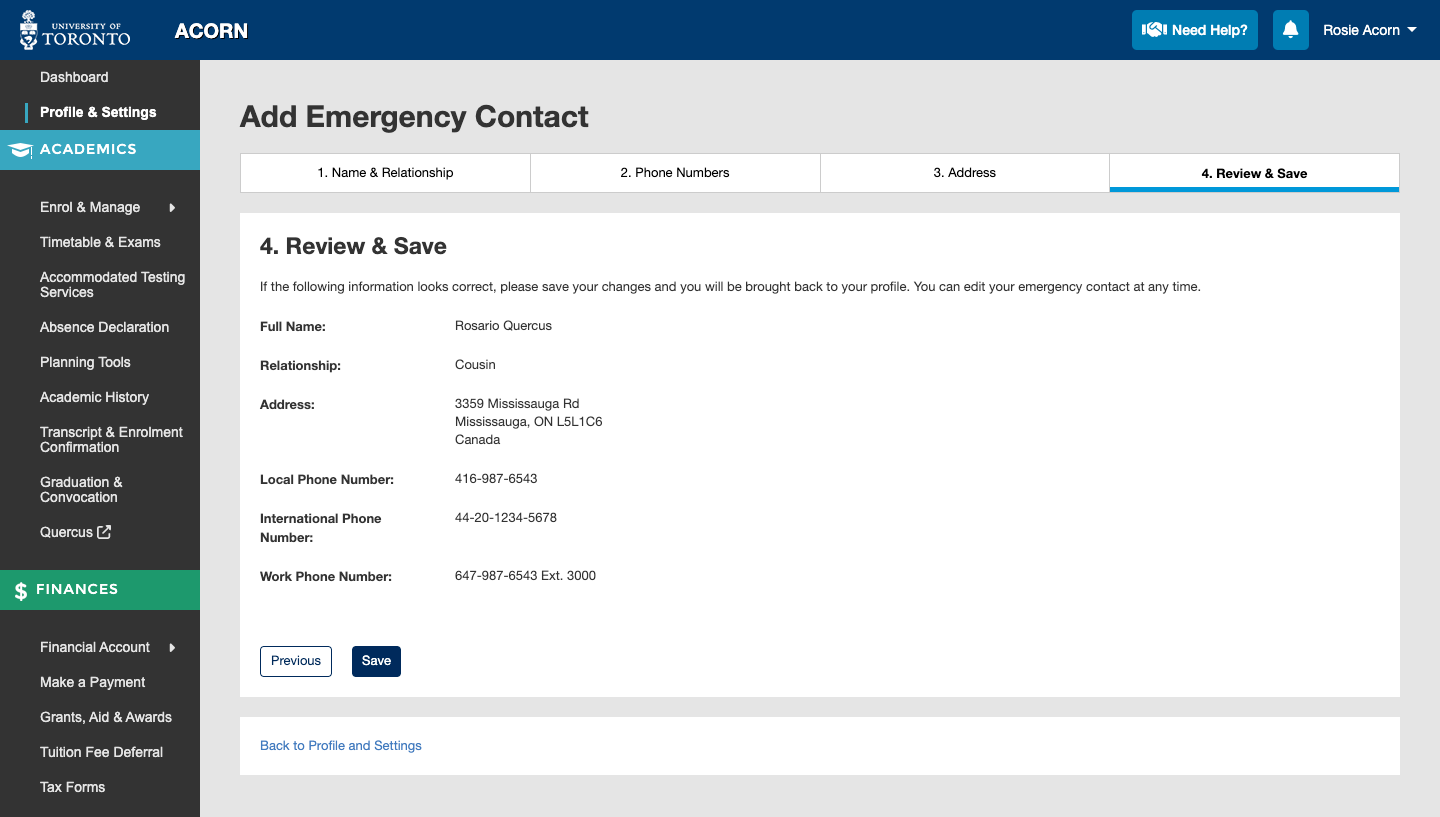
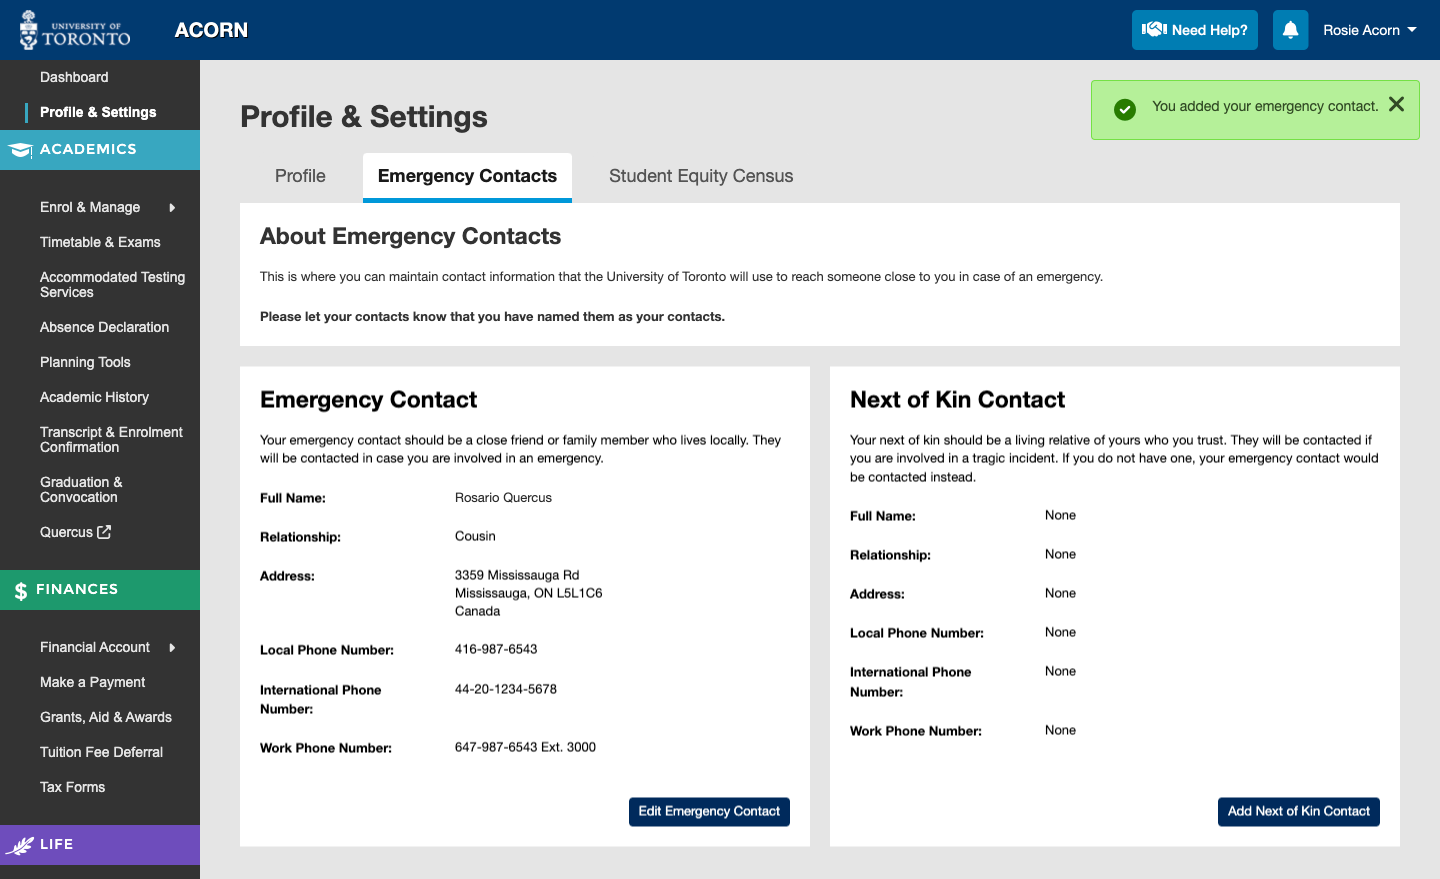
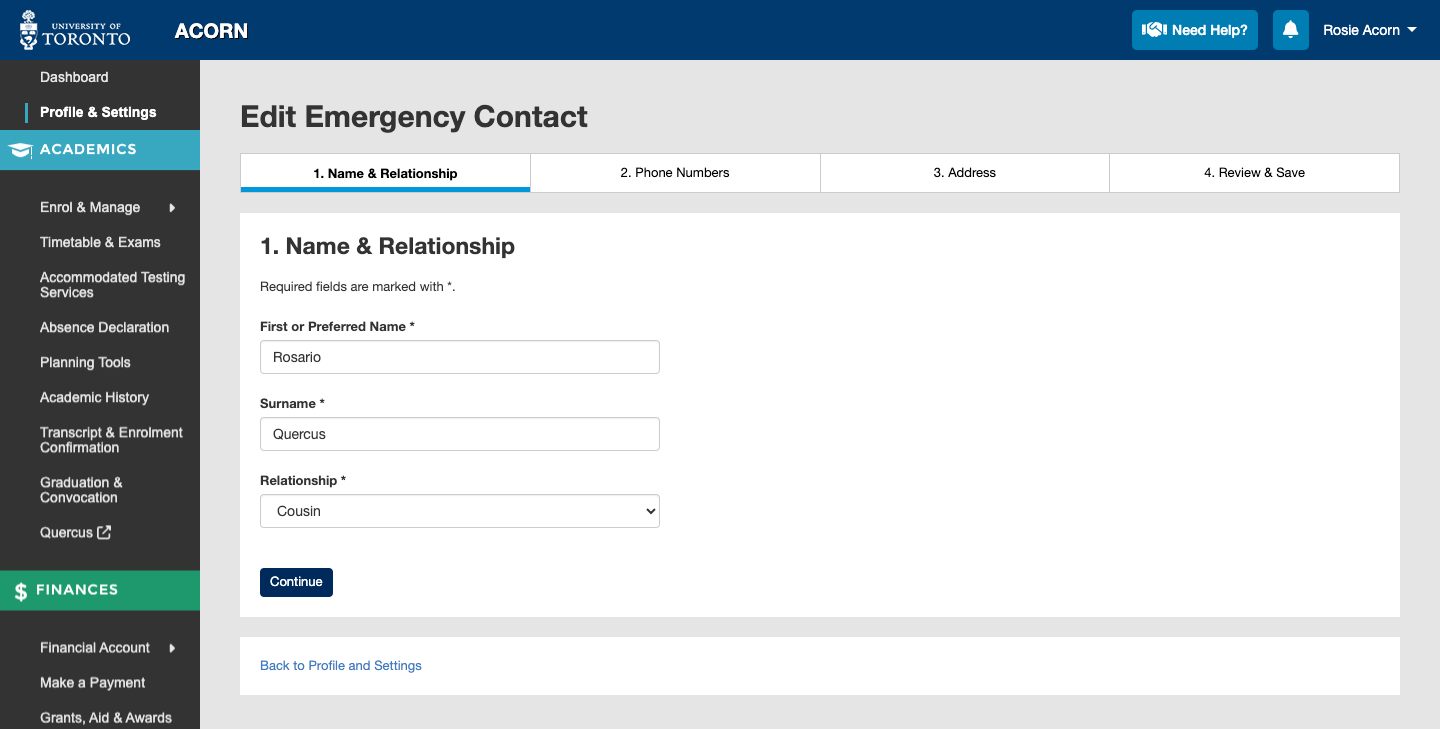
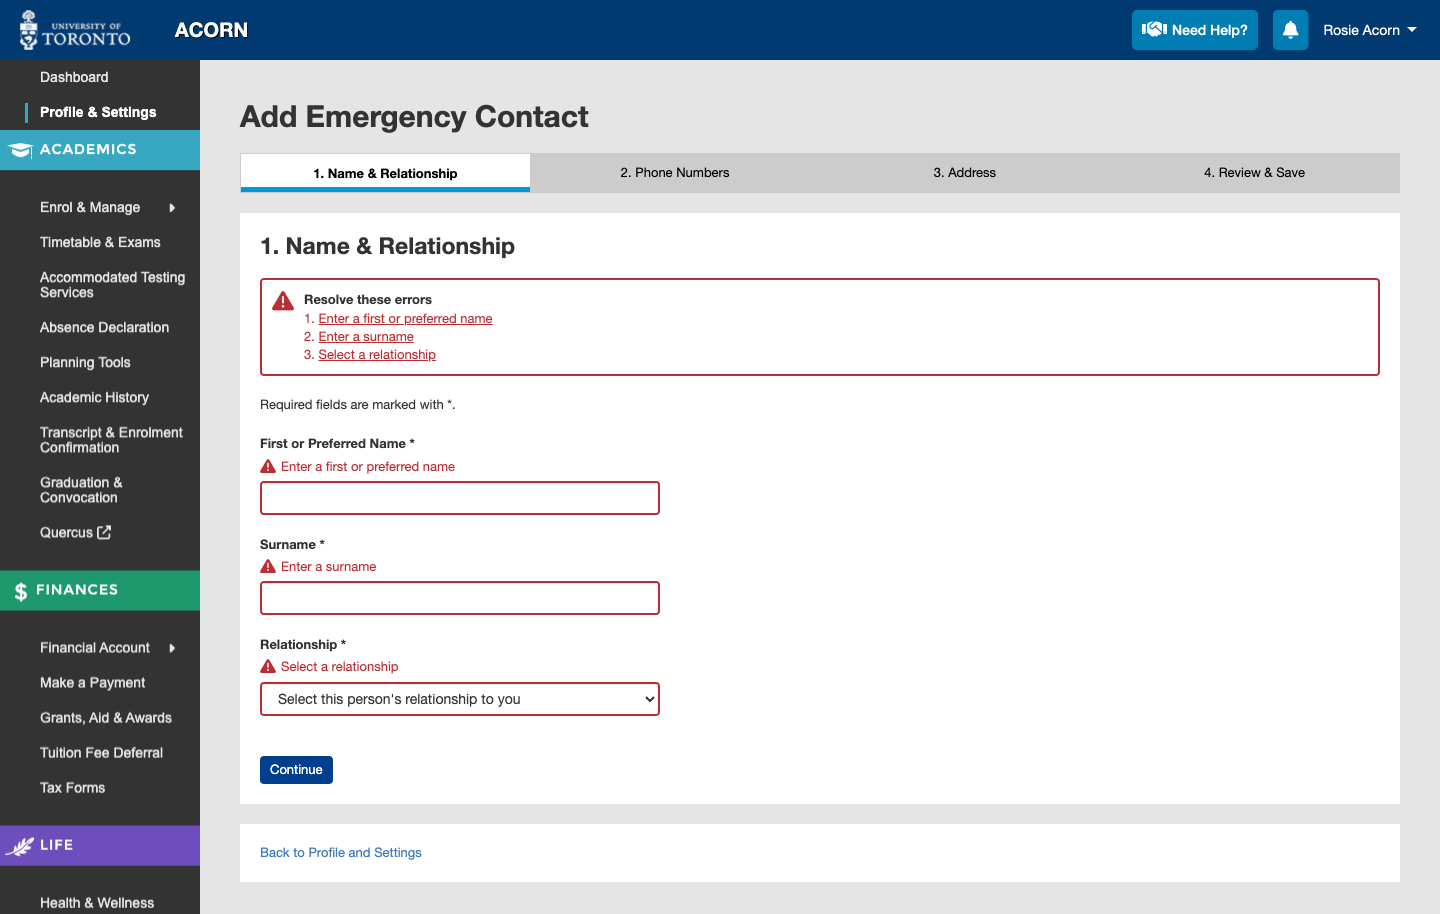
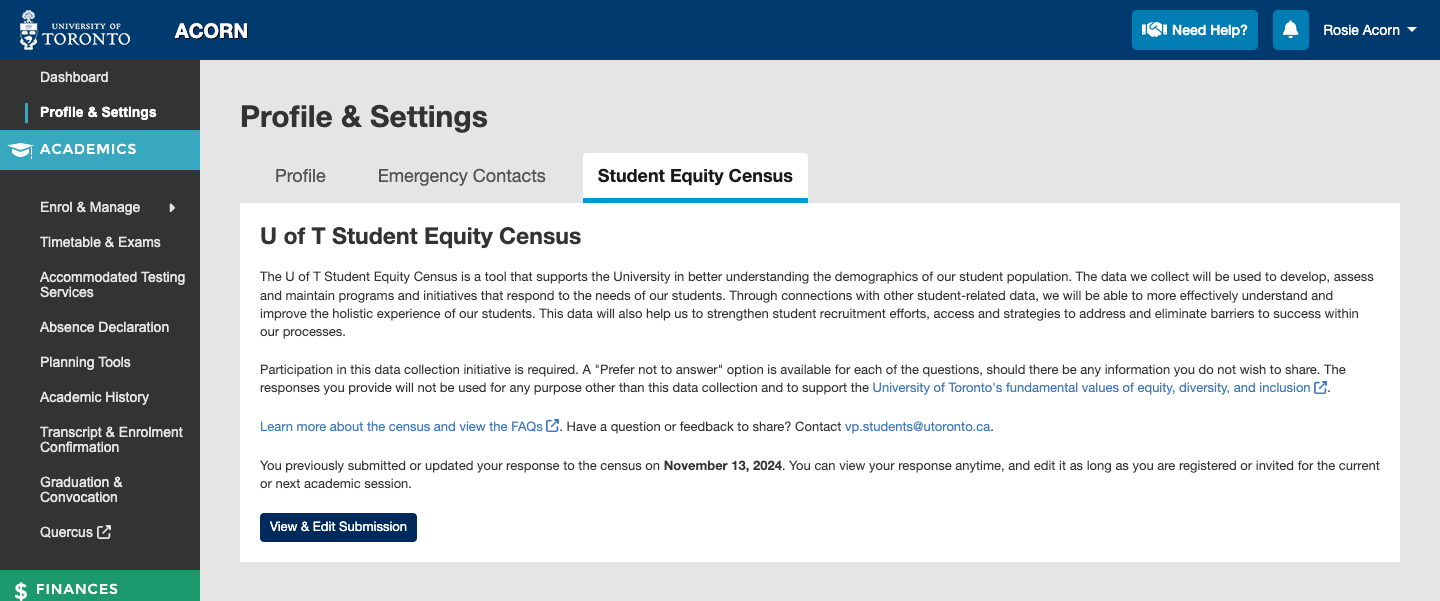
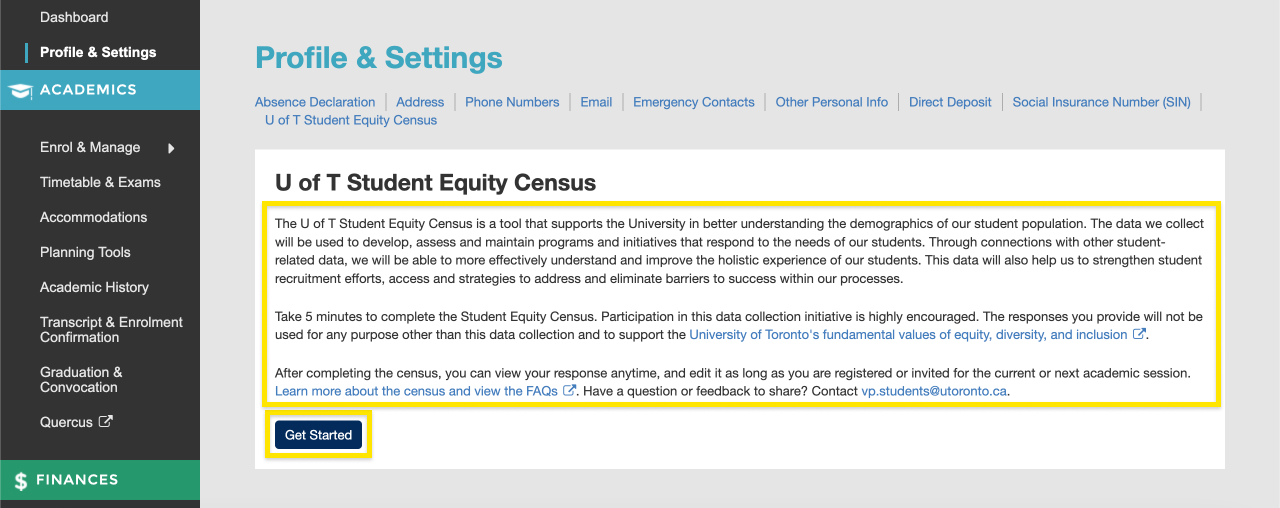
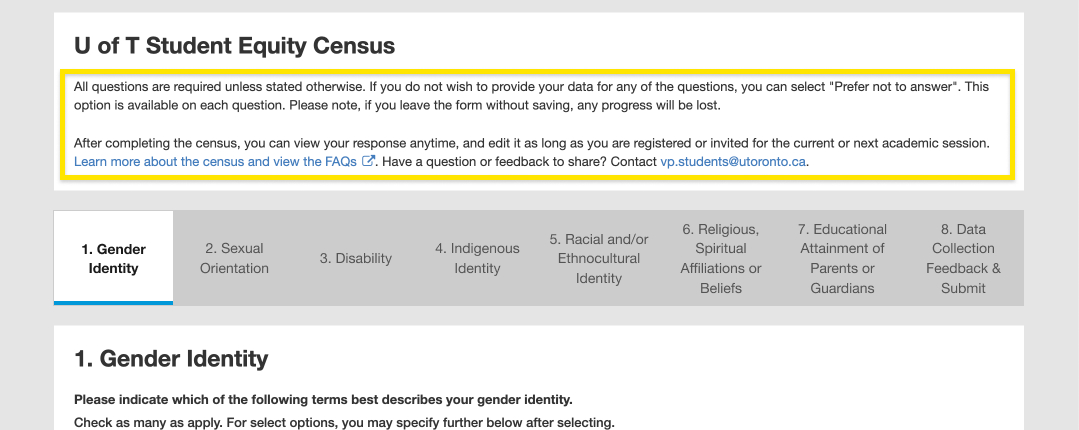
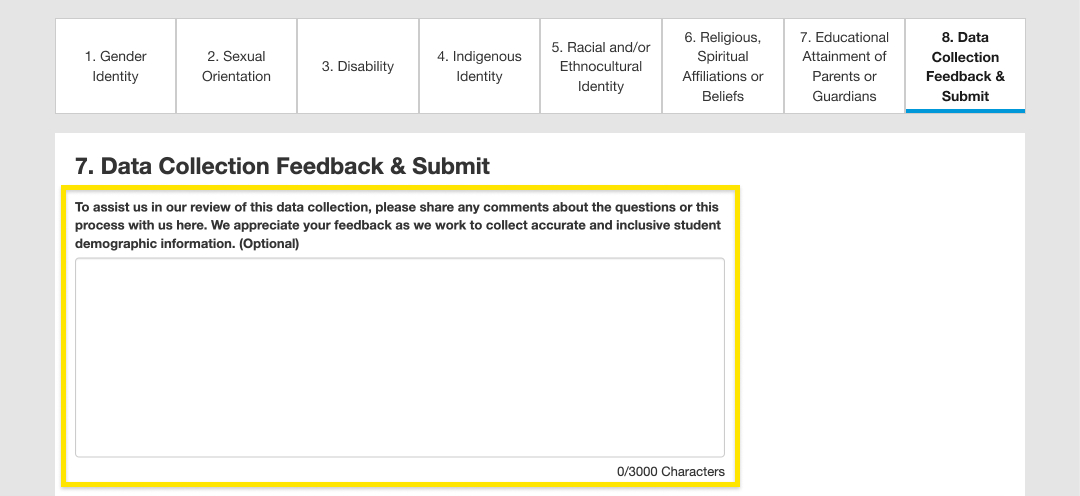
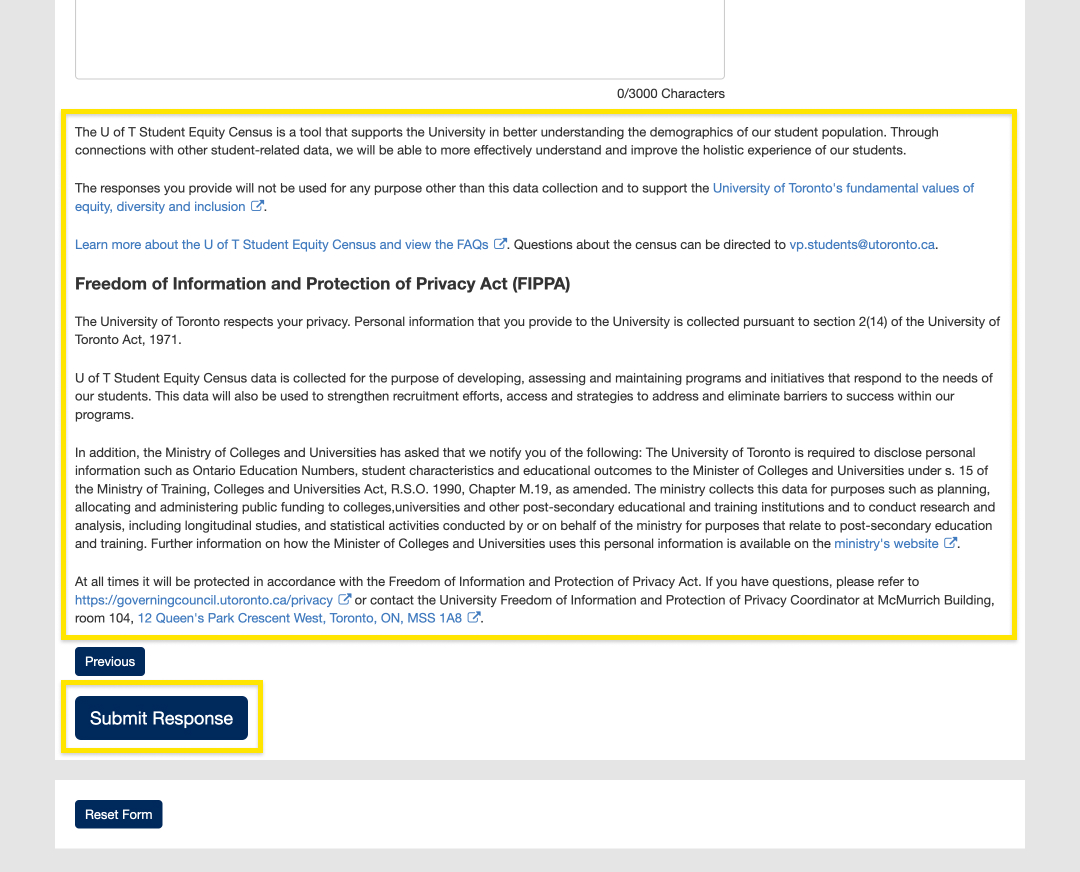
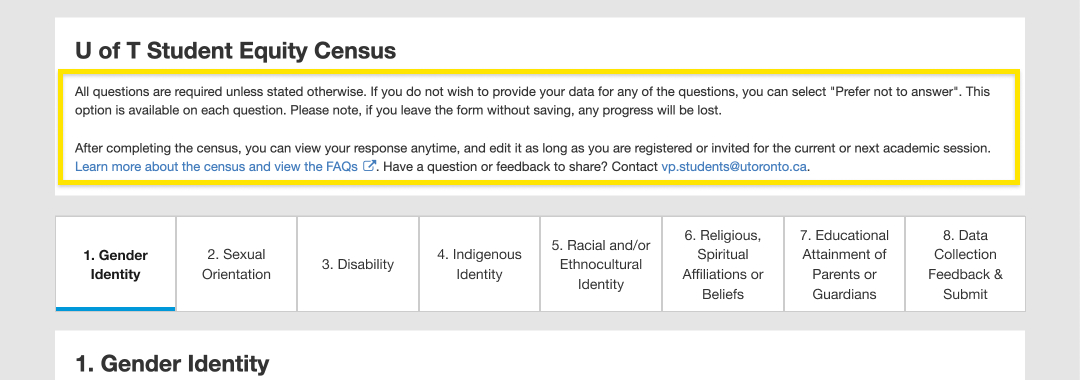
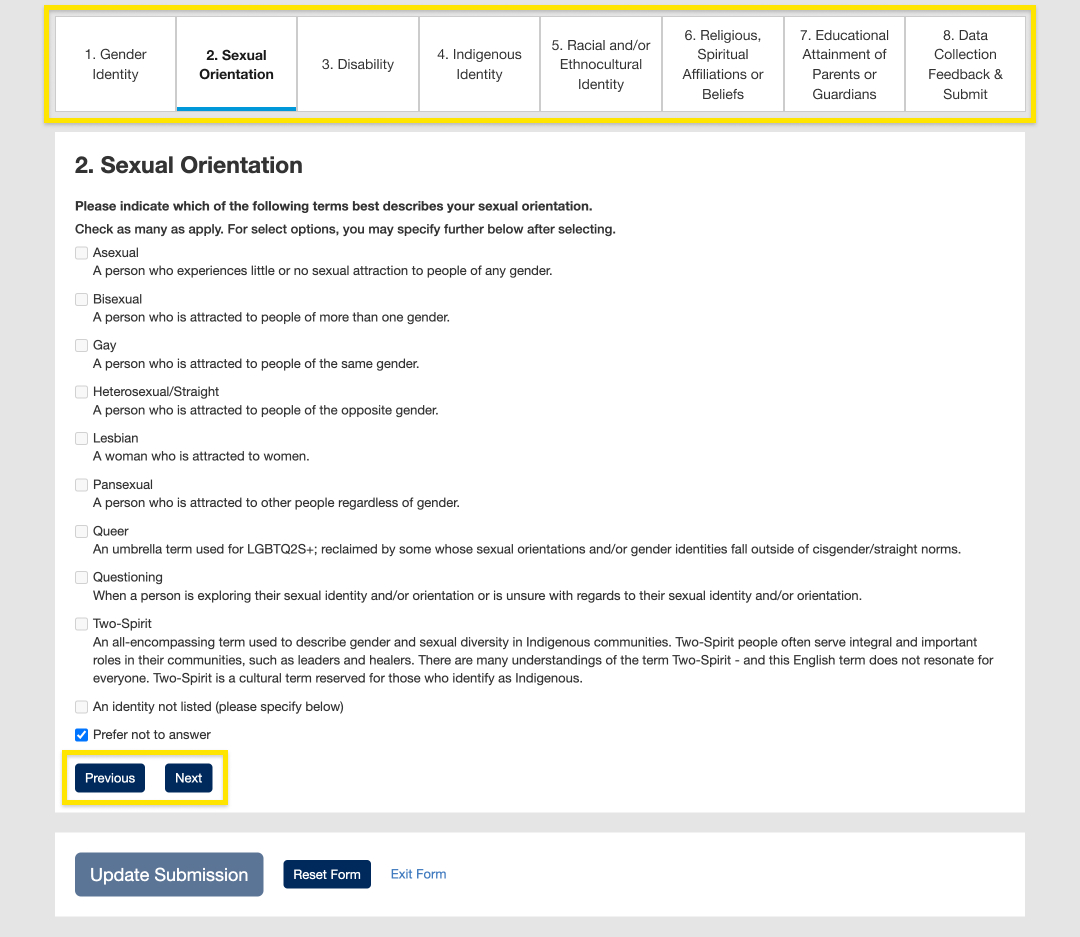
Your critical to-dos are to fill out your mailing and permanent address, primary phone number, emergency contact and complete the Student Equity Census. These can be done in ACORN’s Profile & Settings area. U of T needs this personal information to reach you with official communications or in case of an emergency.
The census is crucial as it ensures that U of T can prioritize its commitment to equity, diversity and inclusion. Visit the Student Equity Census Dashboard to learn more and see the data collected.
ACORN will display a deadline by which you need to complete your critical to-dos. This deadline is written in your Profile Checklist and in a message near the top If you haven’t completed your critical to-dos before the deadline, certain areas within ACORN such as your courses, timetable and academic history will become unavailable. Please complete your critical to-dos as soon as you can to avoid this.
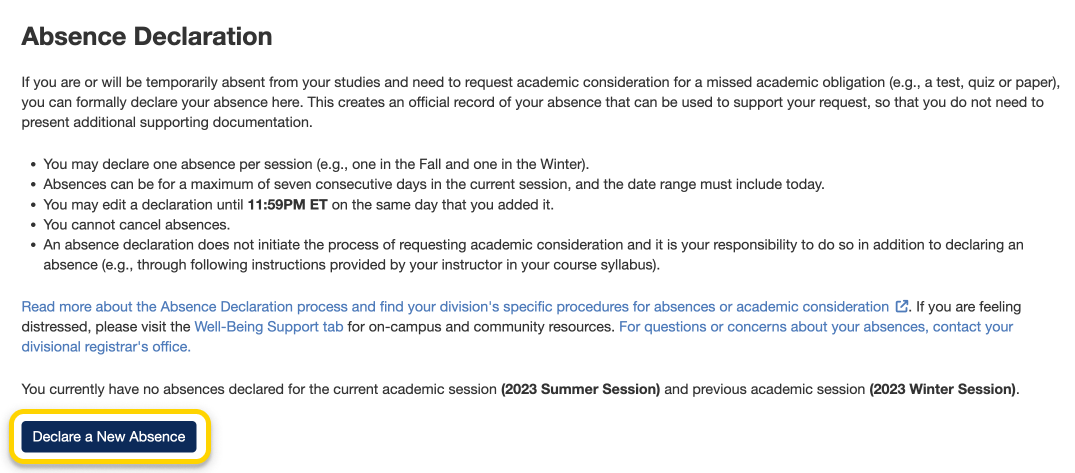
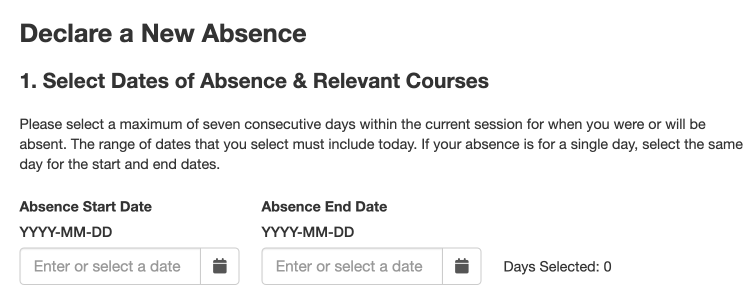
You will always be able to reach the Need Help, Health & Wellness, Accessibility & Equity, Absence Declaration and Accommodated Testing Services areas.
If the deadline passes and you still have incomplete critical to-dos, several places in ACORN will be unavailable until you complete your critical to-dos in the checklist.
Your Important To-dos
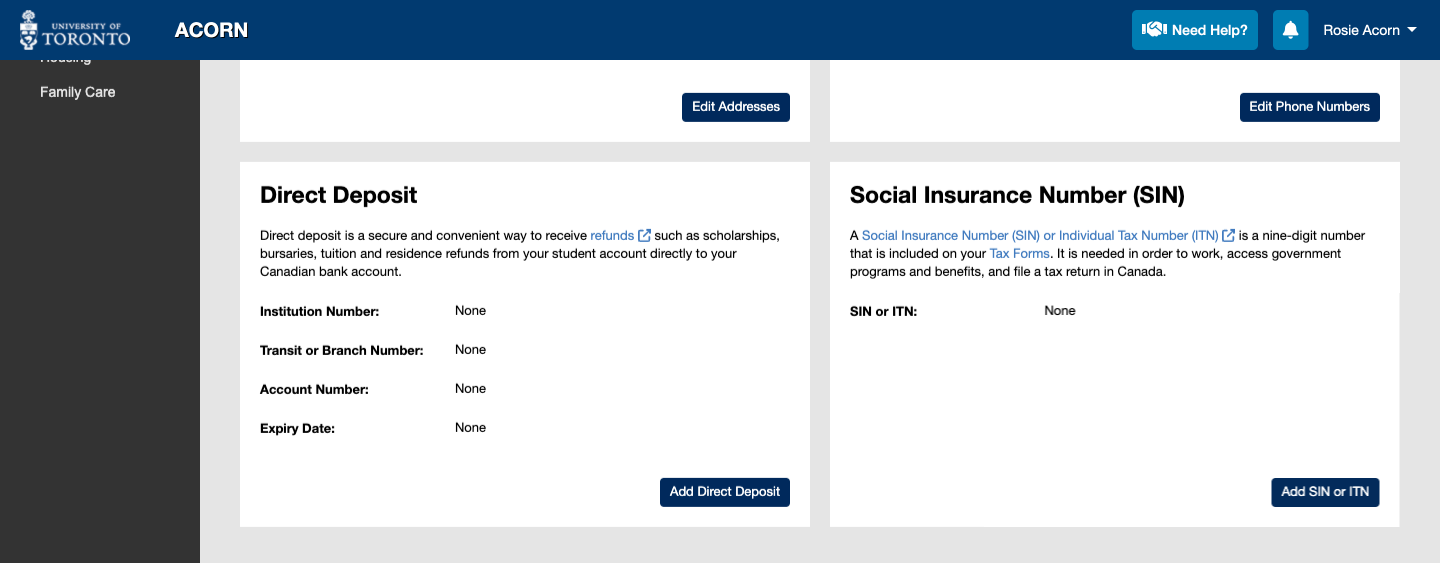
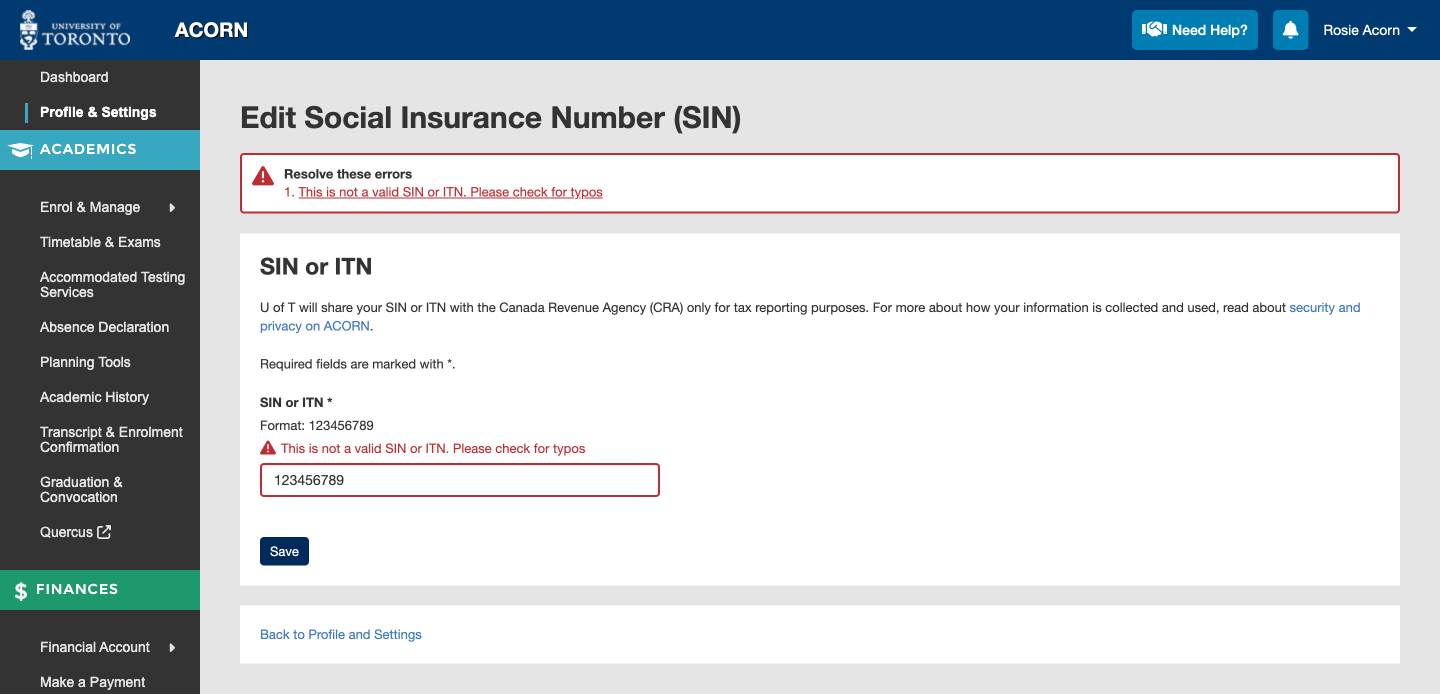
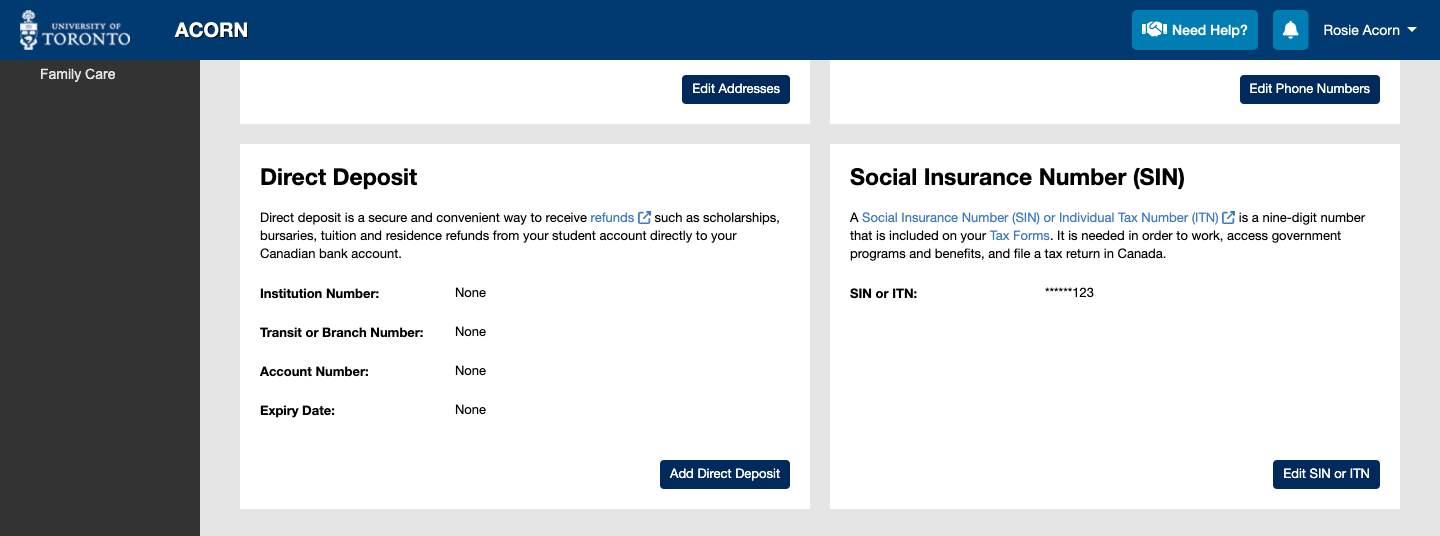
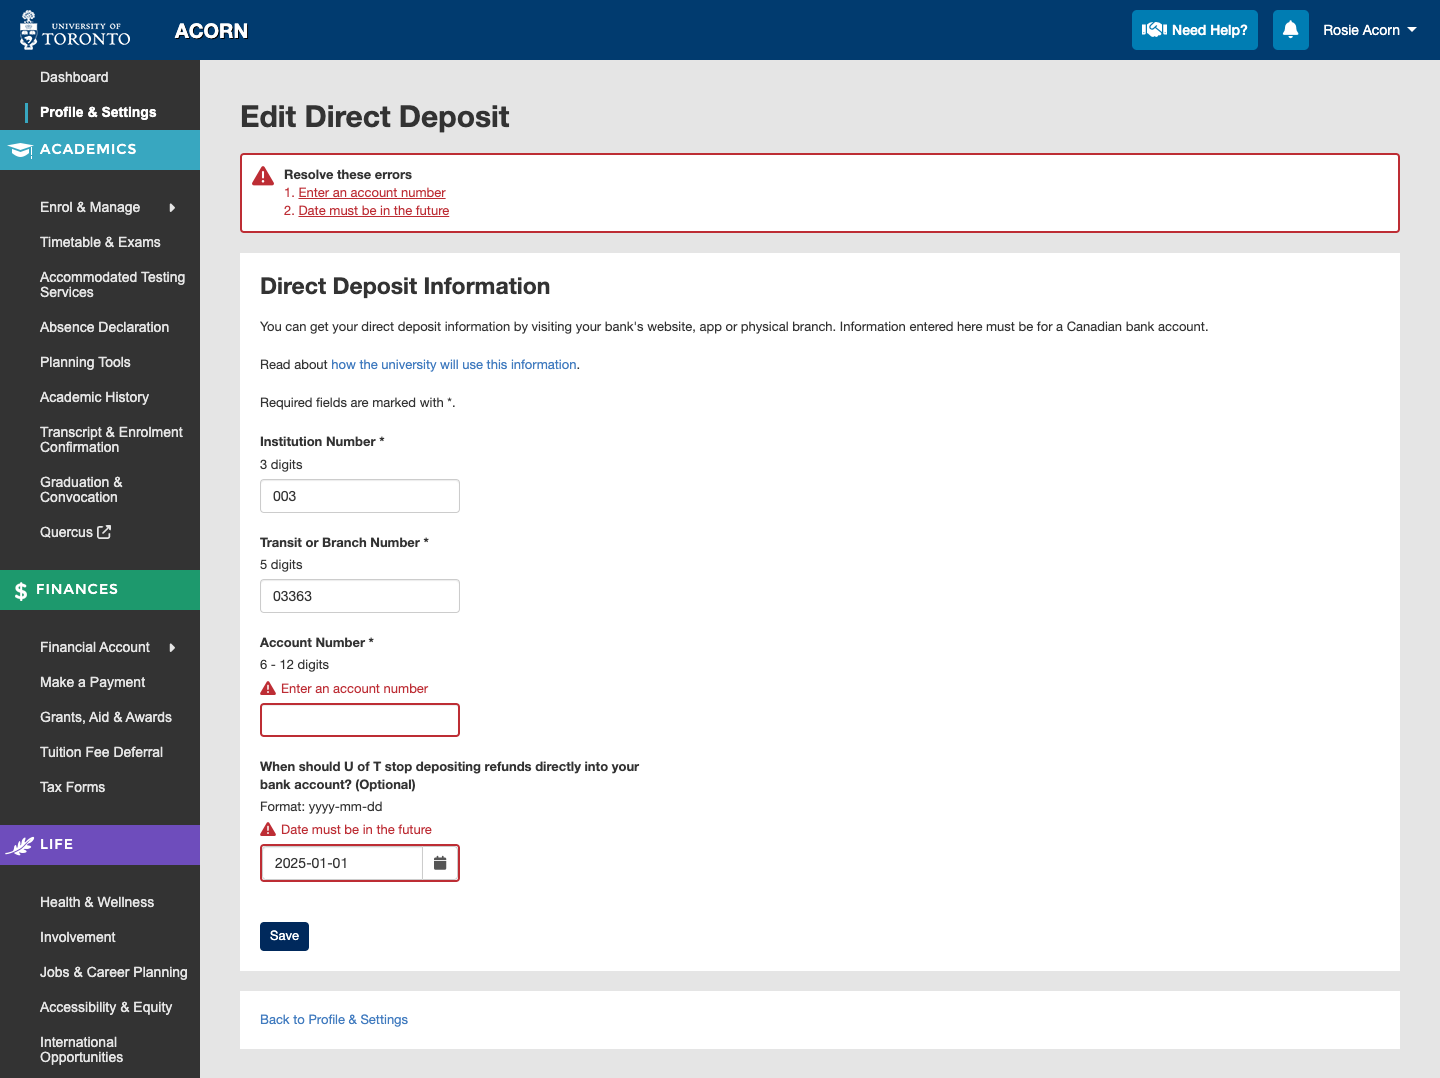
These important to-dos involve verifying your legal status, activating your UTORid, picking up your TCard, adding an alternate email and adding direct deposit information. You may also want to add your SIN or ITN if you plan on working, doing Canadian taxes or accessing government benefits.
These to-dos are not mandatory, and will not make any areas of ACORN unavailable if you do not complete them.However, several of them are part of the process that every student goes through to get their TCard, UTORid and UTMail+ email account.
Adding your direct deposit information will also ensure that you get refunds faster from U of T. Adding an alternate email will ensure that you are able to reset your password easily if you lose access to your U of T email address.
Troubleshooting
- If you completed an important to-do but it is not showing as complete, please try visiting ACORN the next day, and then log out and in again.
- If you need help with your checklist or profile information, please reach out to your divisional registrar.