If you are or will be temporarily absent from your studies and need to request academic consideration for a missed academic obligation (e.g., a test, quiz or paper), you can formally declare your absence using the Absence Declaration tool in ACORN. This creates an official record of your absence that can be used to support your request, so that you do not need to present additional supporting documentation.
To declare an absence, you must be registered and currently enrolled in courses. Your division must also allow absences to be declared through ACORN. Read more about the Absence Declaration process and find your division’s specific procedures for absences or academic consideration.
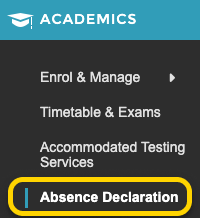
- To get to Absence Declaration from the ACORN Dashboard, select Absence Declaration in the Academics section of the main ACORN navigation.
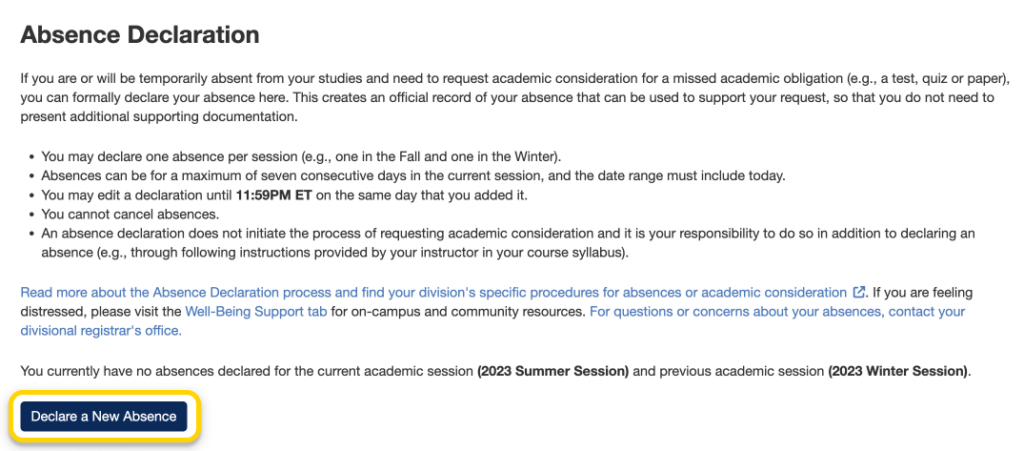
- On the Absence Declaration screen, select the Declare a New Absence button. If this button does not appear, ACORN will tell you why on this page. Your division may not allow absences to be declared through ACORN, you may have already declared an absence during the current session, or you may not be registered in courses for the current session.
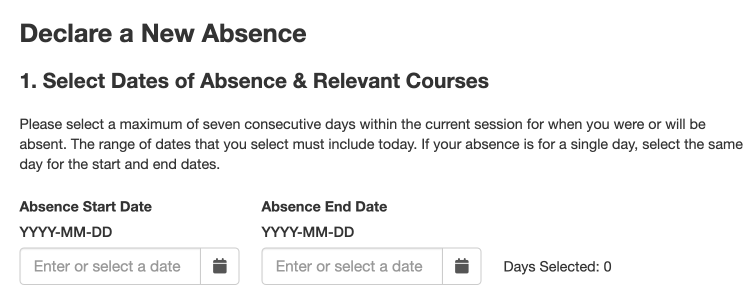
- On the Declare a New Absence page, first you will be asked to provide a start and end date for your absence. Follow the instructions on this page for when and for how long your absence period can be.
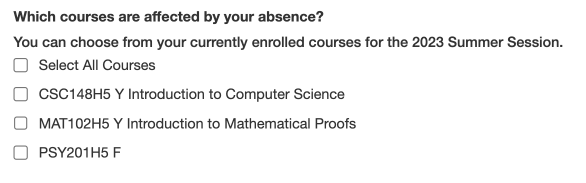
- Next, select the course(s) that are affected by your absence. For example, select a course if you missed its quiz, text or exam. You can also declare absences if you have an arrangement with your instructors regarding missing course-related work or assignments.
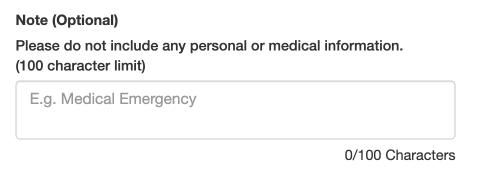
- You may optionally add any additional notes regarding your absence. Please do not include any personal or medical information in this field.
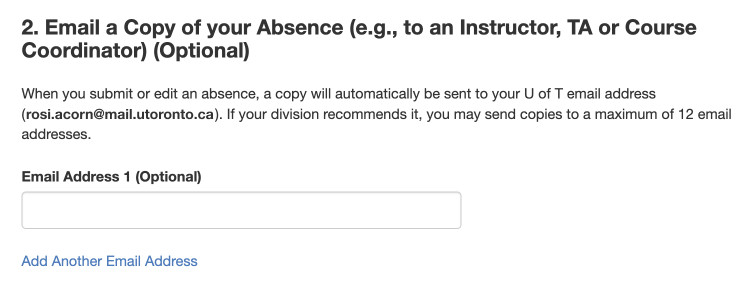
- If your division recommends it, you can send a copy of your absence declaration to a maximum of 12 email addresses for your instructor, TA, Course Coordinator, etc. A copy of your absence declaration will automatically be sent to your official U of T email address.
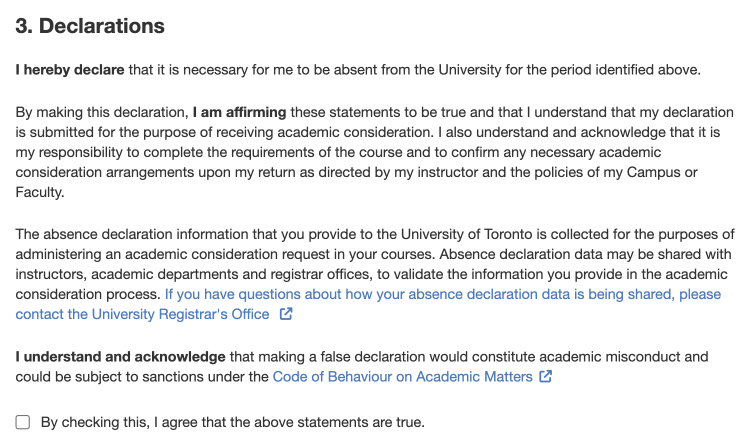
- Read the Declarations and check the checkbox to confirm that you have read and agree with the statements.
- elect the Submit Absence Declaration button once you have filled out all mandatory fields and see no errors. Afterwards, please check your division’s specific procedures for absences or academic consideration. There may be additional steps required by your division beyond submitting an absence declaration on ACORN.

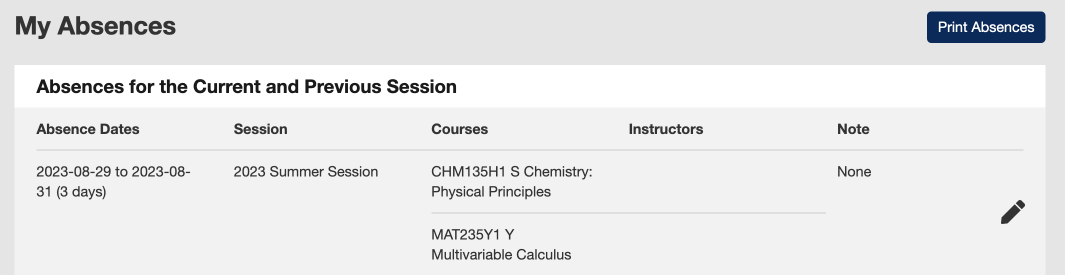
- If your absence declaration was created successfully, you will receive a success message at the top of your screen. You can now view your absence declaration. If you need to edit it, you may do so until 11:59 PM on the day that it was created. Absence declarations cannot be cancelled. Read more about editing absences here.


- In some cases, you may receive an error message that tells you that ACORN was not able to do what you requested and to try again. Occasionally, technical issues like this will occur. Please try again after an hour or two, and the problem should be resolved. If for any other reason you need help with declaring your absence, please reach out to your divisional registrar.